
Chromebook printing can be so much better.
Setting up managed printing for Chromebooks is easy. Follow our quick 10 minute guide to see how directprint.io can help you print more effectively than Print Server based solutions or Google Cloud Print.
Want a more in depth look at Chromebook print management? Our team is on hand at support@directprint.io.
To begin, open up your Chrome browser on Windows, Mac or Chrome OS…
1. Create a trial account at directprint.io
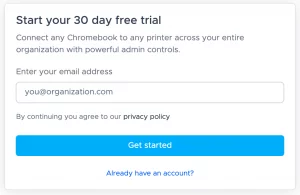
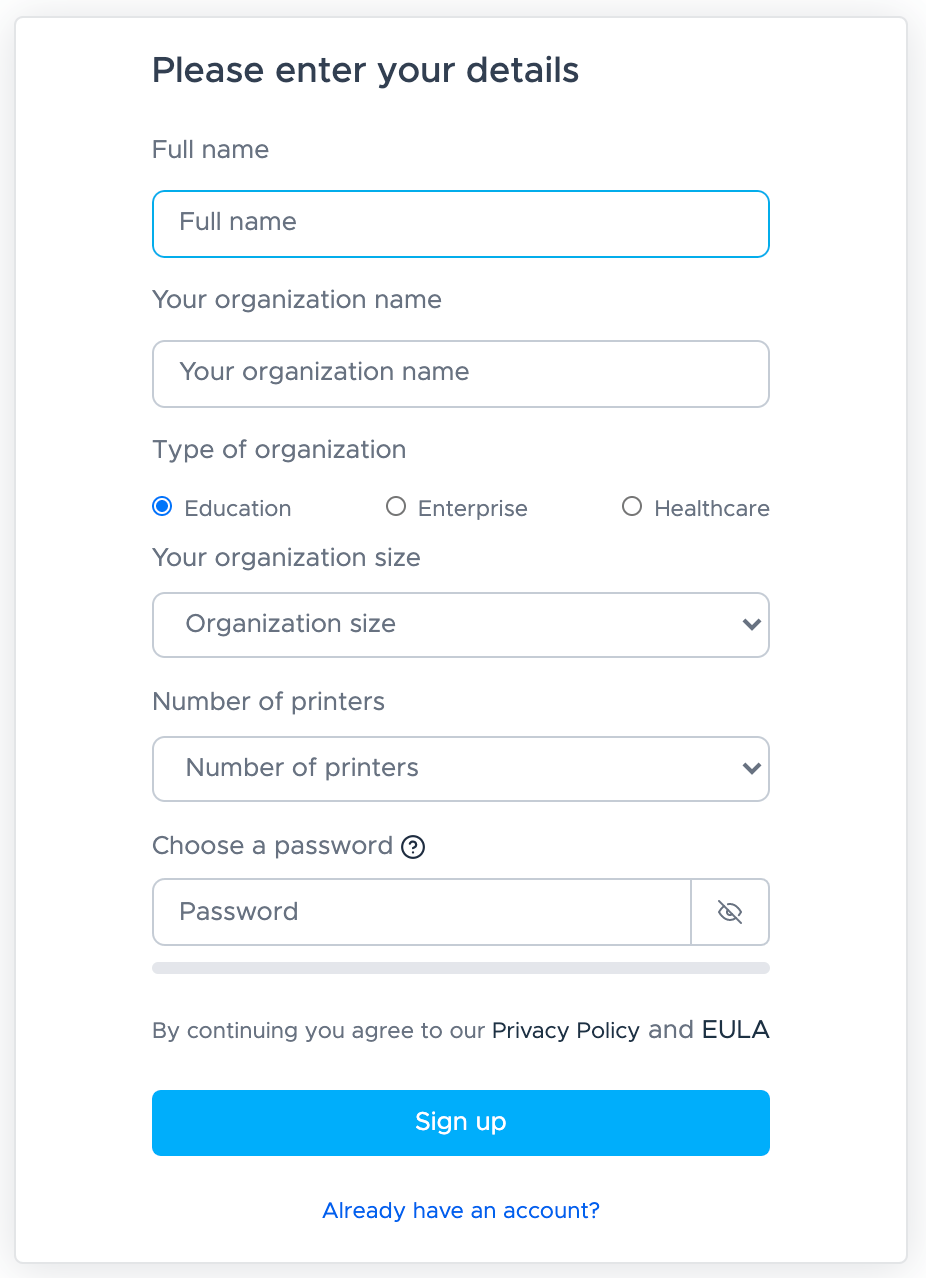
Firstly, go to directprint.io and click Start Free Trial. You will be asked to enter your email followed by a short form requesting some more information to allow us to configure your account.
2. Work through the guided setup
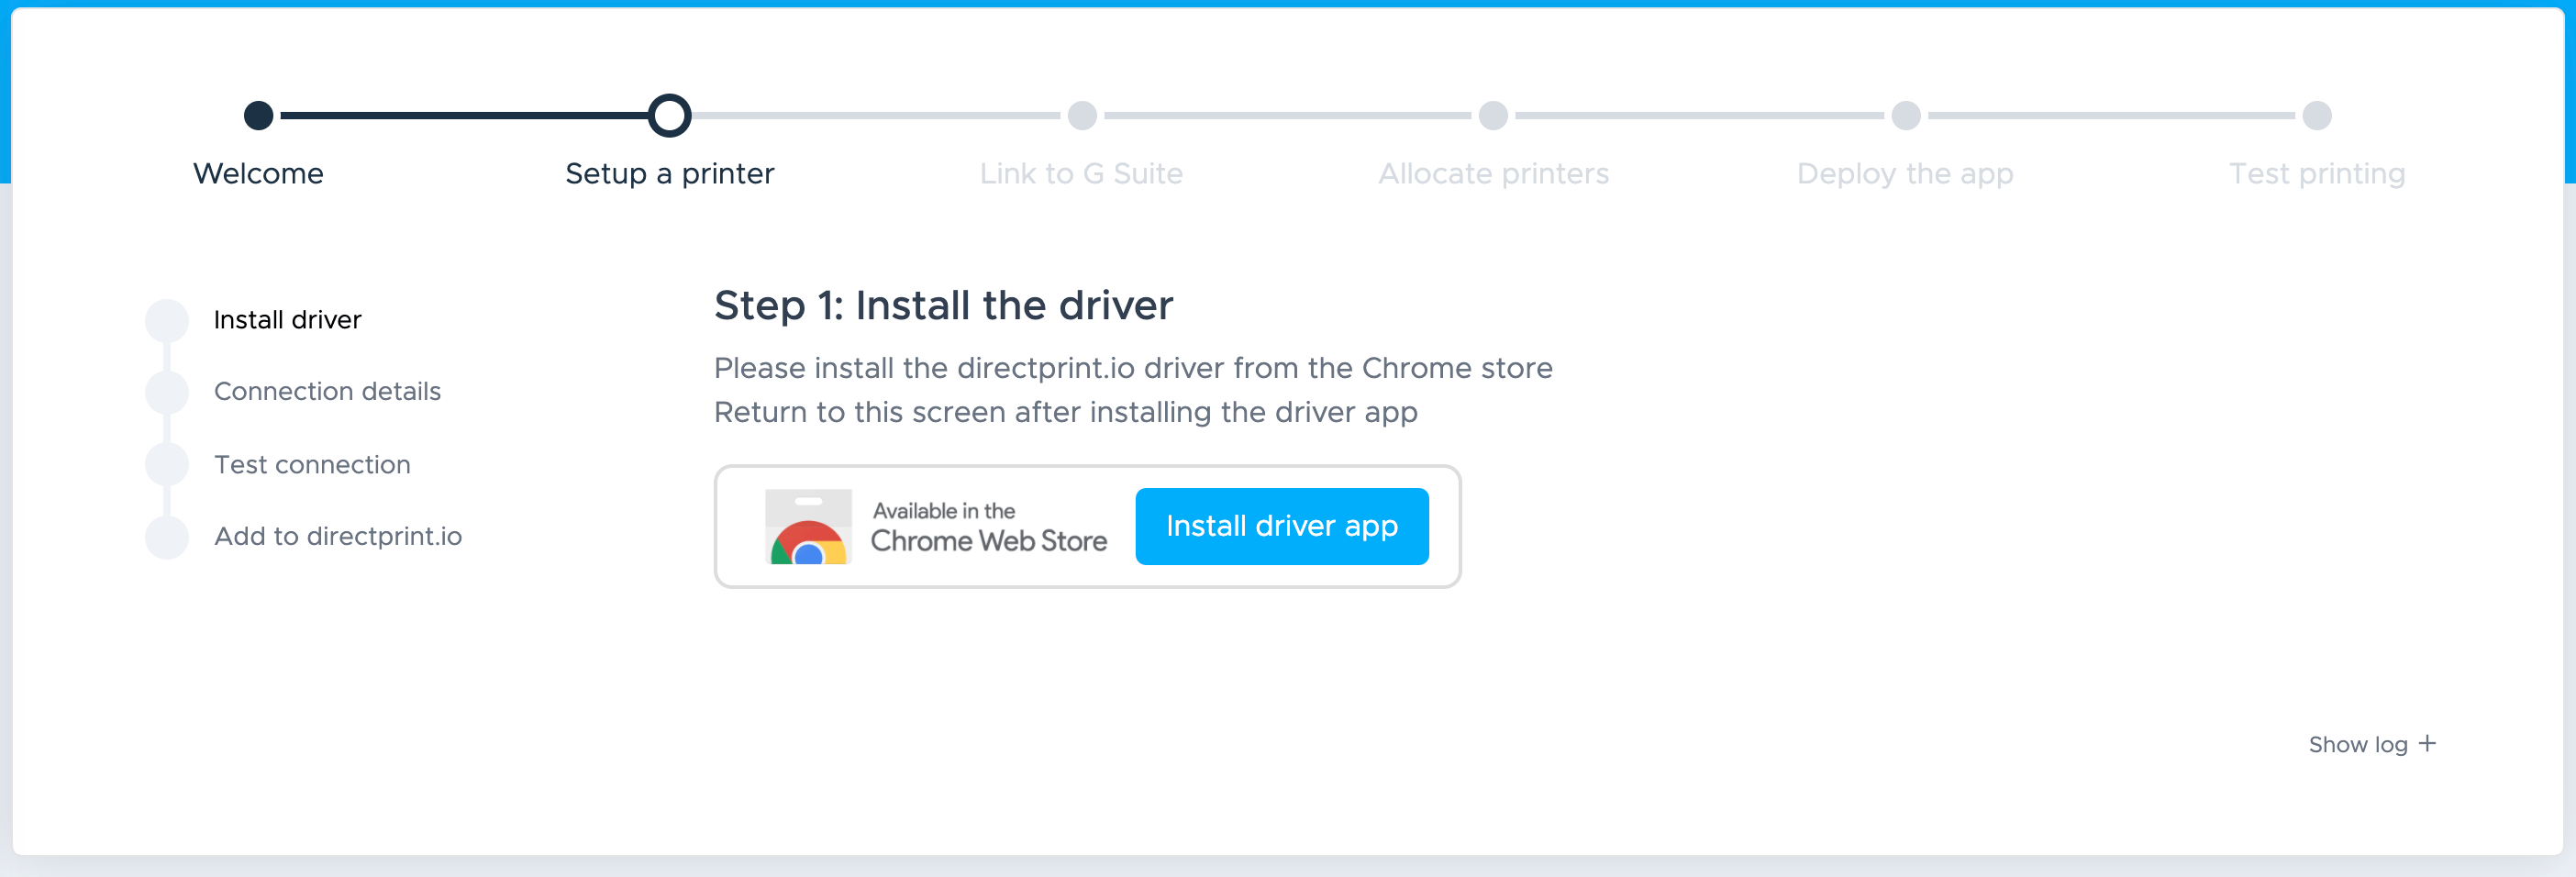
Once you have successfully created your account you will be directed to the directprint.io admin console. You will be presented with a data dashboard which, when populated with your print data provides you with quick insights into your print activity across your organization. Use the ‘Guided setup’ call to action to use our set up wizard to get you started as quickly as possible.

2.1 Install the directprint.io extension (or application depending if on windows/mac/chromeos)
2.2 Add a printer
Once the directprint.io extension is installed, the system will detect any printers on your local network. Simply click ‘Add’ when you see the printer you’d like to connect with. Alternatively, enter an IP address and the system will query the printer to get the connection parameters.

2.3 Test printing
Check the printer is working correctly.

2.4. Deployment method
directprint.io automatically gathers your organization’s OU structure and user/device information from Google Workspace. Choose your preferred deployment method and directprint.io will do the rest!

2.5. Allocate your printer to an organization unit
Once it’s linked, select a test target OU to allocate the printer to.

2.6. Deploy the directprint.io app to your target Google Workspace users
By pushing the app (or ‘force installing’ ) to your target users, you will have completed the steps necessary to setup managed Google Workspace Users.
3. Log on to the Chromebook as a user in the test OU
Once the directprint.io app has automatically installed, open the application from the start menu to see your available printers. Type Control-P to print – just like any other Cloud Print printer or local network printer. Unlike other printer drivers, all prints can be managed through advanced policies and audited through directprint.io’s comprehensive reports.

4. Explore the advanced printer management from within the directprint.io console
Finally, explore all the policy and reporting options within the directprint.io admin console. If you need any assistance, just book some time with us. We hope admins find this guide on managed printing for Chromebooks useful. If you have any further questions, please do not hesitate to email support@directprint.io – we value your feedback!